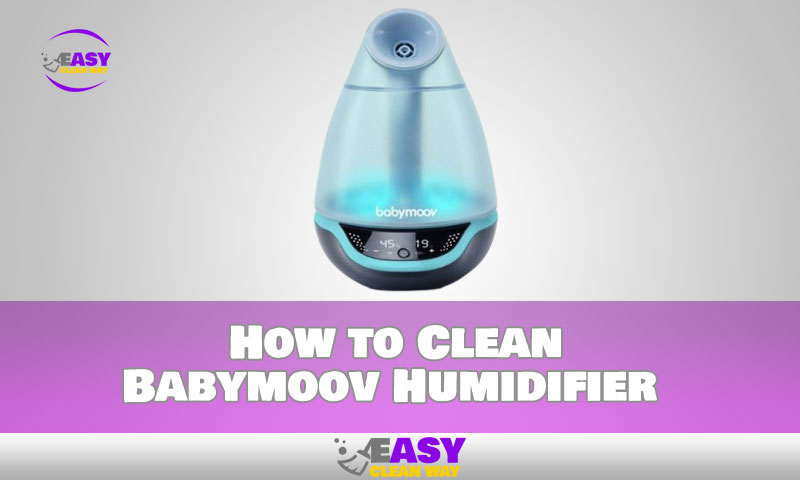
If you’re the proud owner of a Babymoov humidifier, you know that it’s an important part of keeping your home’s air healthy and comfortable. It’s also essential to keep it clean and well maintained, so you can be sure that your humidifier is safe and effective.
But how do you make sure that your Babymoov humidifier is always in top condition? There are some simple steps you can take to ensure that your humidifier is clean and free from germs. In this article, we’ll discuss the keys to keeping your Babymoov humidifier clean and safe so that it continues to give you the humidity relief you need for years to come.
What You Need to Clean Your Babymoov Humidifier
Want to keep your Babymoov humidifier in tip-top shape? The good news is that keeping it clean and safe is actually quite simple.
The most important thing you’ll need for cleaning and maintenance is a good cleaning solution. A mix of two parts white vinegar and one part water will do the trick. This solution should be used to clean both the base and the tank of your humidifier.
If your humidifier has a Hygro+ technology (which helps control humidity levels in more detail), then descaling with vinegar and water is also necessary about once a month. Of course, panning around for replacement filters and optional accessories like an anti-bacterial agents may never hurt either!
Simply remember to use a gentle cloth or sponge when cleaning your Babymoov humidifier, take time to descale it, replace filters as necessary, and you’ll be on your way to keeping it in pristine condition.
Step-by-Step Guide to Cleaning Babymoov Humidifier
Keeping your babymoov humidifier clean is essential for your child’s health. Here’s a step-by-step guide on how to do it correctly:
- Start by cleaning the tank using roughly 20ml of normal household bleach or a comparable ratio of vinegar and water.
- Empty the tank and rinse thoroughly with clean water twice.
- Pour 1 cup each of vinegar and water into the tank, then cap the tank and let it soak for 20 minutes.
- After soaking, empty the tank once again and rinse thoroughly with clean water two times to ensure all traces of vinegar are gone.
- Take apart any additional parts (filters, etc.) following the instructions in your user manual, and then also rinse these parts separately with warm water until they are free from dirt or debris.
- Reassemble all parts when finished and you’re done!
Do this cleaning process you’ll ensure that your babymoov humidifier operates safely – keeping your little one free from airborne germs!
Tips for Regular Cleaning and Maintenance of the Babymoov Humidifier
Maintaining your Babymoov Humidifier is easy, and it doesn’t take long. Plus, regular cleaning and maintenance will keep your humidifier safe and working smoothly. Here are three tips to keep in mind:
Tank cleaning
Use a solution of 20ml of regular household bleach and 1 liter of water to clean the tank. Use only goods that have been approved by the manufacturer, such as vinegar and other solutions.
Clean the water basin
Make sure to clean out the water basin and get rid of any apparent dust or grime before every use. Between uses, clean the basin with a soft cloth that has been soaked with a moderate cleaning solution.
Before storing, wash and drain
Make sure to clean and drain your Babymoov Humidifier once you’ve finished using it for the season before putting it away. By doing this, you’ll prevent the minerals in tap water or other airborne contaminants from clogging up your humidifier.
How Often Should the Humidifier Be Cleaned?
One question many people have about the Babymoov humidifier is, how often should it be cleaned?
The simple solution is that the humidifier needs to be cleaned once a week. Particularly if you use it in a child’s bedroom, this is true. Regular cleaning not only keeps the device functioning at its best, but it also helps to guarantee that everyone who uses it stays healthy.
On the other hand, you must use the proper cleaning solution in addition to cleaning the humidifier once a week. For instance, use an equal mixture of water and white vinegar to gently clean the exterior. The skin is not harmed or subjected to any other negative effects by this mild treatment, which works flawlessly on dust and grime buildup.
However, before using a diluted detergent solution, try to remove any discoloration you do detect from your Babymoov humidifier with a soft-bristled brush. This will keep things clean and safe for the entire family by preventing the growth of bacteria inside your appliance.
Signs That Indicate It’s Time to Replace Your Babymoov Humidifier
Knowing when to replenish your Babymoov Humidifier is one of the most crucial things you can do to keep it secure and clean. You could certainly wait until the item breaks or malfunctions, but doing so could be dangerous to your health.
Here are some signs that it’s time to replace your Babymoov Humidifier:
- Stains – If there are water stains on the outside of the humidifier, then you should consider replacing it right away.
- Wear & tear – If there is any damage or wear and tear on the components, then it may be time to buy a new one.
- LCD display – The LCD display on the new model always accurately shows humidity and temperature levels in the room so if yours isn’t as accurate as it used to be, then you should consider getting a new one.
- Noise – If your humidifier is making loud or strange noises, or if it’s not working properly, then that’s a strong sign that you should look into getting a new one soon.
These few signs can help you identify when it’s time to replace your Babymoov Humidifier—so take some time to inspect yours regularly!
Tips on How to Store Your Babymoov Humidifier When Not in Use
You should store your Babymoov humidifier appropriately while not in use in the nursery. Here are some pointers on how to save it so that it will be clean and secure for the next time:
Prior to storing, check sure the humidifier is completely dry. By doing this, the likelihood that the following use will smell of mold or germs is decreased.
Second, just add water to the tank when you’re ready to use it. Doing so will maintain the tank clean and nearly bacteria-free.
Finally, to keep your Babymoov humidifier in top shape, clean out the base at least once a week using a solution of white vinegar and water.
People Also Like: Can You Clean a Gun With Alcohol
Conclusion
To ensure that your family is breathing the purest air possible, it’s crucial to keep your Babymoov humidifier clean and secure. You can make sure that your Babymoov humidifier stays clean and performs at its best by following a few easy steps. Make sure to give it a thorough cleaning on a regular basis and change the filter as needed. No of the season, you’ll have a healthier, cozier atmosphere in your house as a consequence of your efforts.
Hey there! I’m Alton Smith, your Clean Expert blogger. I’m on a quest to help you conquer chaos and embrace the joys of a tidy life.


