Music can make or break a car ride. Everyone loves singing along to their favorite songs, but what happens when the speakers start to buzz? That buzzing sound can ruin even the most perfect tune!
But don’t worry, cleaning your car’s speakers is simpler than you might imagine. To get rid of the buzz and restart your music, all you need are a few easy tools and instructions. Cleaning your car speakers becomes a simple operation that can be completed in no time once you have everything you need.
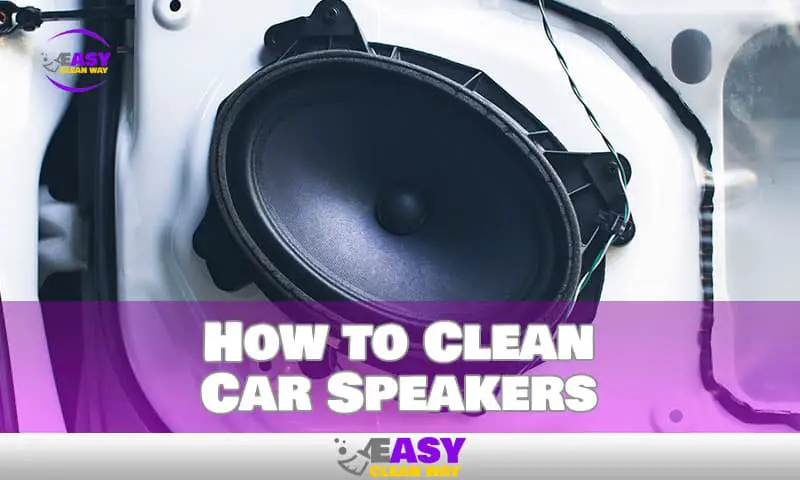
In this article, we’ll show you how to clean car speakers with ease, so you can jam out in style once more. Surprisingly enough, cleaning your car speakers does not have to be as difficult as it may seem—with the right techniques, anyone can do it! Let’s dive in and get started!
Preparing to Clean Your Car Speakers
Before you start cleaning your car speakers, you should always take some time to do the necessary prep work. Depending on the severity of the project, you may need to strip the speakers of any grills or protective casing and assess what materials you’re working with.
It is advisable to use a vacuum with an attached dust brush and dry-cleaning powder spray for cleaning cloth speaker grills. By doing this, you may get rid of dirt without harming the fabric. Simply wipe down other objects like plastic, glass, or metal using a natural bristle brush or a microfiber cloth that has been slightly dampened.
You can start your deep cleaning process after that is finished and everything has dried off. Regardless of how serious the cleaning endeavor is, this preparation stage should be carried out because a proper clean requires beginning from scratch.
What You Need to Clean Car Speakers
Nobody likes road noise, so it’s important to keep your car speakers clean and free of any dirt, dust and debris that can cause buzzing and other sorts of unwanted sounds. To get started, you’ll need a few supplies:
- Vacuum cleaner or compressed air: This is essential for removing lint, dust and other particles from the car speaker.
- Microfiber cloth: Use this both dry and damp to wipe away any dirt or grime that won’t come off with the vacuum cleaner. For tough spots, a mildly moist microfiber cloth works best.
- Water: Combined with the microfiber cloth, water helps remove sticky residue from speaker surfaces.
Once you have your supplies ready, you can begin cleaning the car speakers to make sure they are functioning properly and delivering optimum sound quality.
Cleaning the Speaker Grills
When you’re getting ready to clean your car speakers, the first step is always to unplug them from the power source. Once those are disconnected, you can start getting ready to clean the speaker grills.
You want to make sure you use a face mask when cleaning, since dust and other debris can be hazardous if inhaled. To start, use a vacuum cleaner with a soft brush attachment to remove big particles of dirt, dust, or debris from the grill.
After it is finished, start cleaning the exterior of the dry grill using a soft brush or cloth and some isopropyl alcohol, sometimes known as rubbing alcohol. If there is grease or oil, make sure to get rid of it because alcohol can speed up the process of breaking it down and getting rid of it.
Once you’ve removed everything from the speaker terminals and connections, use an old toothbrush or cotton swab bathed in alcohol (again). Your speaker grills should now be spotlessly clean!
Vacuuming the Speaker Surfaces
- Try sweeping the speaker surfaces if you like to keep things dry and worry less about moisture. All you need is a vacuum cleaner with a gentle brush attachment to do it safely and easily.
- There are a few things to keep in mind when vacuuming automobile speakers:
- While cleaning the speaker surface, use delicate pressure—avoid using excessive force.
- Keep the vacuum nozzle moving to prevent scuffing the speaker’s surface.
- It is advised to choose a lower suction setting so you can get greater results without harming your car speakers.
- Ensure that your vacuum cleaner has a gentle brush attachment so that the speakers may be cleaned without becoming damaged.
Once you’re done vacuuming, take one last look with a flashlight or something similar to make sure that all dirt and debris have been removed from the speaker surfaces.
Wiping Down the Speaker Surfaces
Older car speakers need to be kept clean since they tend to accumulate dust over time. A microfiber cloth and distilled water are required for this. Before wringing out any extra liquid, wet the fabric. After that, wipe the surface of each speaker with a soft cloth. Make sure to go over it numerous times to make sure no dirt is left behind.
When you’re finished, you might wish to vacuum the speaker grilles to get rid of any lingering dirt. If compressed air is what you have, you could also use it.
If there are any stubborn marks on the speaker grills, don’t use abrasive material as it could cause damage. Instead, mix a mild solution of dish soap and water then dip a small soapy sponge into it and start gently scrubbing the grills. This should get rid of any tough marks without causing damage to your speakers.
Sealing and Protecting the Speakers
You may be worried about the dirt and grime causing damage to your car speakers in the long run. To help protect them, you can install gaskets between the speaker and surrounding spacer. This will help keep unwanted particles from getting inside and will also reduce any rattling noises. Additionally, using silicone sealant around the edges of the speaker is an effective way to protect it from water damage.
For even greater safety, use a speaker baffle. This item was designed to fit over the speakers in cars and protect them from damage brought on by the elements, such as rain and dust. Speaker baffles are normally made of lightweight plastic and are immediately connected to the interior of your car. Use this method with the gaskets and sealant to prevent dust and moisture from penetrating inside your speakers.
People Also Like: How to Clean Hurricane Windows Safely and Quickly in a Hurry
Conclusion
All in all, cleaning car speakers can be a daunting task. But it’s really quite simple if you follow the steps. You can DIY your own cleaning supplies, like a toothbrush and some cotton swabs or perhaps a vacuum. However, if you want the job done quickly and easily, grab a car speaker cleaner kit at your nearest store.
Remember, if you keep your car speakers clean, you’ll be rewarded with a crisp, high-quality sound and a fabulous audio experience. So get crackin’ and get that buzz gone!
Hey there! I’m Alton Smith, your Clean Expert blogger. I’m on a quest to help you conquer chaos and embrace the joys of a tidy life.


