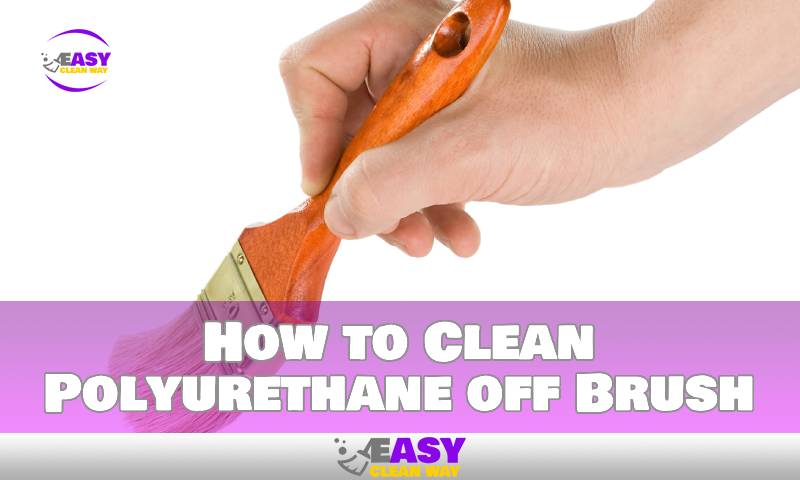
Chances are, you’ve been here before. You’re in the middle of a polyurethane project and find that your brush has become clogged with the stuff. You know what the consequences are if you don’t take care of it, but you’re not sure where to start.
We hear you. So we decided to put together a guide for removing polyurethane from your brush—the simple way. Whether you’re an amateur painter or a pro, this is for anyone looking for an easy and effective way to clean their brush after using polyurethane.
We’ll walk you through the step-by-step process of breaking down and then removing polyurethane from your brush—so you can get back to painting like a boss in no time.
Safety Precautions When Cleaning Paint brushes With Polyurethane
When you’re working with polyurethane, one thing you must always remember is to use proper safety precautions. It’s essential to wear protective gloves when handling polyurethane, as it can cause serious skin irritation and damage.
In order to make sure that you don’t damage your paintbrush, you’ll also need to use the right solvent for the job. Mineral spirits and paint thinners are both effective at removing polyurethane from a paintbrush, but make sure that what you’re using is safe for the brush material.
And finally, it’s important not to wait too long before cleaning your paintbrush. After working with polyurethane, clean up as soon as possible to avoid hardening the paint. The sooner you clean your brush off, the easier it will be and the better your results will be.
Different Solvent Options for Removing Polyurethane
If you’re wondering how to remove polyurethane from your skin or the surface of whatever you’re painting, there are a few solvent options to turn to. Both mineral spirits and denatured alcohol can remove polyurethane from your skin, as long as you use them sparingly and in an area with good ventilation.
When it comes to surfaces, acetone, mineral spirits, methylene chloride, methanol, and turpentine can all be used as solvents for removing polyurethane. You may need to experiment with different solvents in order to find the one that works best for your project.
At last, if you’re looking for an option that doesn’t involve harsh chemicals, combining vinegar and baking soda can be an effective method of removing polyurethane from wood. Just keep in mind that this option may take a bit longer than using a solvent!
Best Practices for Cleaning a Paintbrush With Polyurethane

When you’re done with your polyurethane project, it’s time to clean your paintbrush. It’s a good idea to clean it immediately after use, as this will make the job a lot easier. If that’s not possible, make sure it’s done within 24 hours.
Use a mild cleaning solution after each coat of paint on a paintbrush made of polyurethane for best results. The extra polyurethane will be removed as a result, and the brush’s bristles won’t dry out and become hardened. You can use acetone or mineral spirits to help loosen up polyurethane that has already begun to dry in spots.
Just remember, don’t let too much acetone stay on the brush for an extended period; it can damage the bristles and shorten their lifespan. After you’ve used these stronger solvents, be sure to wash your brush with warm water and soap before using it again.
Use Soap and Water to Completely Rinse Off Polyurethane
At this point, you’ve gotten rid of most of the polyurethane; now it’s time to finish the job. You’ll want to use dish soap and running water to make sure all residues from the polyurethane are completely gone.
The brush can be cleaned in this way by first running it under warm water, then rubbing it with dish soap until there is no longer any foam in the water. To check for any remaining polyurethane residue, make sure to run the brush through your fingers. It’s critical to keep rubbing with dish soap and fresh water until soap-free water flows off of your paintbrush once more if you still feel any grit or something that feels like grit.
After you’ve finished rinsing, take your brush and paint it off onto some outdated newspaper or a fresh piece of cloth. This will ensure that your brush doesn’t need to be cleaned again once it has dried completely by helping to remove any extra water and soap that may still be on it.
Maintaining a Paintbrush After Cleaning With Polyurethane
Once you have removed the polyurethane from your paintbrush, there are a few extra steps to help you maintain your brush and ensure repeat use.
Rinse Thoroughly:
Rinse your brush in clean, warm water to remove any detergent and loose polyurethane particles. Swirl the bristles around on top of a sponge or cloth to get rid of excess debris and liquid before storing them.
Reshape:
Use your hands to reshape the bristles of the brush and make sure the shape is similar to its original form before using it again. This will make sure it works properly for the next job.
Store Properly:
Finally, store your brush properly by wrapping it in plastic wrap or an airtight bag and placing it in a cupboard or drawer away from direct sunlight. By taking care when cleaning with polyurethane, you can ensure that your brushes last for many years to come.
Knowing When It’s Time to Replace Your Paintbrush
It’s easy to see when your paintbrush has gone through a few too many cleaning cycles, and it’s time for it to be put down for good. Here are signs that it’s time to replace your paintbrush:
Uneven Brush Marks
When you can’t get painter’s tape lines straight or don’t get smooth strokes with the brush, uneven brush marks are a sign of worn-away hairs, and it might be time to ditch the brush.
Stray Hairs in Paint
If you notice stray hairs on your freshly painted surface, that’s a sign of wear and tear on the bristles of your paintbrush.
Loss of Spring and Becoming Unresponsive
If the bristles of your brush start to lose their springy shape and become unresponsive in the presence of paint, that can be an indication that your brush is on its way out.
Removing Polyurethane From Brushes

Although removing polyurethane from brushes can be challenging, it is possible with the appropriate method. The type of polyurethane you use makes a difference.
For water-based polyurethane, warm water, and dish soap are often enough to remove the product. Simply put your brush in a container of warm water and dish soap and let it soak for at least an hour. Afterward, rinse the brush off with warm water, and you should be good to go.
Using a polyurethane with an oil base, however, might require more work. Simply pour the liquid into a container, dip your brush into it, and see if mineral spirits or paint thinner work. Depending on how much product is stuck to the brush, you might have to repeat this process several times to remove it all. If there are any dried polyurethane particles on your brush, you can also try using paper towels to remove them before cleaning.
At that point, all that’s left for you to do is rinse off your brush with warm water and let it dry before you use it again.
Conclusion
Taking the time to properly clean and store your paintbrush is key to its long-term use and efficiency. With these simple steps for removing polyurethane from your brush, you can keep your brushes in the best shape so they’ll last longer and you can get the job done right.
Whether you’re a professional painter or someone who likes to do their own projects on the side, having the right tools is essential. Cleaning polyurethane off your brush isn’t a difficult task, and with a few easy steps, your brushes will be clean and ready to use again in no time.
Hey there! I’m Alton Smith, your Clean Expert blogger. I’m on a quest to help you conquer chaos and embrace the joys of a tidy life.

