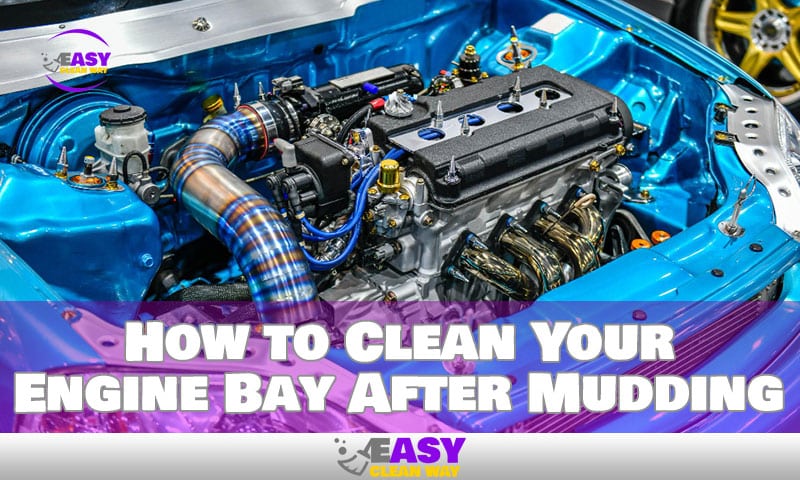
Ah, mudding. The perfect way to make a mess. After a day (or weekend) of off-roading and getting dirty, you’re probably thinking there’s no way to clean your engine bay and make it look as good as new. Well, think again! With the right techniques, you can clean your engine bay with ease, which is why we’ve put together this handy guide on how to clean your engine bay after mudding.
In this guide, we’ll give you step-by-step instructions on how to clean your engine bay after a long day in the mud. So grab some protective gear and a few supplies, and let’s get going. By following our expert tips, your engine bay will be squeaky clean in no time.
Preparation: Gather Materials and Make an Action Plan
Before you start the process of cleaning your engine bay after a mudding adventure, you’ll need to make sure that you have all the necessary materials and tools. You’ll need a standard garden hose, access to pressurized water, a bucket, degreaser/degreaser solvent, a toothbrush, rags, or sponges, and a good brush with stiff bristles. Once you have these materials ready to go, it’s also important to set up an action plan for what needs to be done.
First and foremost, create a timeline for yourself, as an engine bay is likely to take some time—you don’t want to rush through this process. Next, be sure not to ignore any parts of the engine bay while you’re cleaning. You’ll want to clean every corner and crevice so that all the dirt and mud are removed. Lastly, wear safety glasses and gloves while cleaning in order to protect your eyes and hands from any debris or chemical residue.
Now that everything is set up for success in cleaning your engine bay after mudding, let’s take a look at the actual steps you’ll need to take in order to get it back in pristine condition.
Clear the Engine Bay of Debris and Loose Dirt
After a day of mudding, your engine bay is probably filled with dirt, mud, and debris. The first step in cleaning it up is to remove the dry debris and dirt, which can be done with a brush or vacuum. Start at the top of the engine bay and work your way down, paying special attention to corners and crevices so you can get rid of all the dried mud.
Once you’ve done that, it’s time to degrease the engine bay with a household degreaser. Check under hood labels for any specific instructions on what kind of degreaser is okay for your vehicle. Simply spray on the degreaser and allow it to sit for 10-15 minutes before rinsing it off completely.
Next, use a brush or sponge along with some soapy water to scrub away any remaining grime from the engine bay. Take care not to damage any cables or wires while you do this, as they can be delicate. When you’re finished scrubbing, rinse everything off thoroughly with some cold water until all the soap residue is gone.
Fix Loose Hoses and Connections
After you’ve scrubbed your engine bay, it’s time to look for any loose hoses or connections. If you find any, don’t worry—they can be easily repaired with a quick fix.
Take, for example, a cracked radiator hose. These are usually made from rubber and can dry out over time. A quick and easy fix is to use insulating tape and wrap it around the hose until it’s snug again. This should be enough to get you back on the road in no time at all.
If you’re worried about your hoses and connections getting damaged again in the future, try regularly checking them to see if they’re still secure before taking off on your next off-roading adventure. This way, you can save yourself from costly repairs down the line—a win-win for everyone.
Clean the Engine Bay Thoroughly
Now it’s time to make your engine bay look brand new. Start with a good wash-down. Use a microfiber cloth and some car wash soap to lather up the entire engine bay. This step is important to get off all the dirt, mud, and grime from your mudding excursion.
Next, spray down the engine bay with a degreaser. This will help loosen up any grease and gunk that may be in the nooks and crannies of your engine bay. After the degreaser has been sprayed, spray the entire engine bay with water until everything is clean again.
Finally, use a non-corrosive cleaner to wipe down any metal, plastic, or rubber components that need it. Doing so will maintain any protective coating or clear coat on these components and prevent them from being damaged in the long run.
Choose the Right Cleaner for Your Car
You’re almost done. Now you need to choose the right cleaner for your car. From Relentless Drive’s car cleaning kit to Amazon’s best sellers list, to Walmart’s car detailing kits and pressure washers, you’ve got a lot of options when it comes to cleaners for your engine bay.
Maybe you don’t know where to start. Here’s how to decide which cleaner is right for you:
- Determine what kind of dirt and grime is on your engine bay, and then find a cleaner that works on that particular type of mess.
- Look at the colors of your car and the finish—if you have a showroom-type vehicle, you’ll want something that won’t strip away its paint or a protective coating (some soaps are too strong).
- Consider if there are any spots that need special care—like rust or oil stains that won’t come off with just a general cleaner. If so, find an appropriate solution specifically designed for that job.
- If in doubt, call up a local mechanic and ask their advice on what product works best for engine bay cleaning.
Inspect and Replace Parts as Necessary
When it comes to cleaning your engine bay after mudding, you want to make sure that everything is in good condition before you call it quits. The parts of your engine bay that have been impacted by the mud should therefore be thoroughly inspected, repaired, and maintained.
At this point in the process, you should also use a vehicle inspection checklist to make sure everything looks good, which includes inspecting the general condition of the engine bay. Make sure all of the parts are still in place and that they function correctly.
Also keep an eye out for components like the engine cooling fan, which must meet original equipment specifications. Make sure they are clean and functioning properly or consider replacing them if necessary. Doing this not only helps give your motor a long life but also makes sure that your engine bay is properly cleaned after mudding.
Finishing Touches and Reassembly
Now that you have cleaned the engine bay, it’s time to finish up.
Brushing
So, first up, use long-bristle brushes to brush off any remaining dirt and grime from the engine bay. Make sure you get into all the nooks and crannies, as dirt can hide in small crevices.
Spraying
Then, you can spray aerosols such as gasket remover, engine degreaser, brake cleaner, or general-purpose cleaners on heads and blocks to get them looking spick-and-span.
Inspecting
Finally—and this is very important—inspect all of your front suspension and steering system components for rust and any chipped or peeling paint. If you spot any of these issues, they will need to be addressed before you put those components back into your engine bay.
Once you have done all that, it’s time to reassemble your engine bay components and start your engine with pride—you did it.
People Also Like: Care for Your Precious Doll: How to Clean a Cloth Doll Body
Conclusion
Cleaning your engine bay after mudding can be time-consuming but it is a necessary step to keep your car running effectively and efficiently. Start by removing any mud from the engine bay using a pressure washer, and then use a degreaser to remove any remaining dirt or build-up. After scrubbing the engine bay, use a hose and water to rinse off the degreaser. Finally, use a vacuum to remove any remaining water and finish the job.
Mudding can be an exciting but dirty activity, and your engine bay should be cleaned regularly, especially after mudding. Armed with these steps, you now know how to clean your engine bay after mudding and keep your vehicle in great condition.
Hey there! I’m Alton Smith, your Clean Expert blogger. I’m on a quest to help you conquer chaos and embrace the joys of a tidy life.