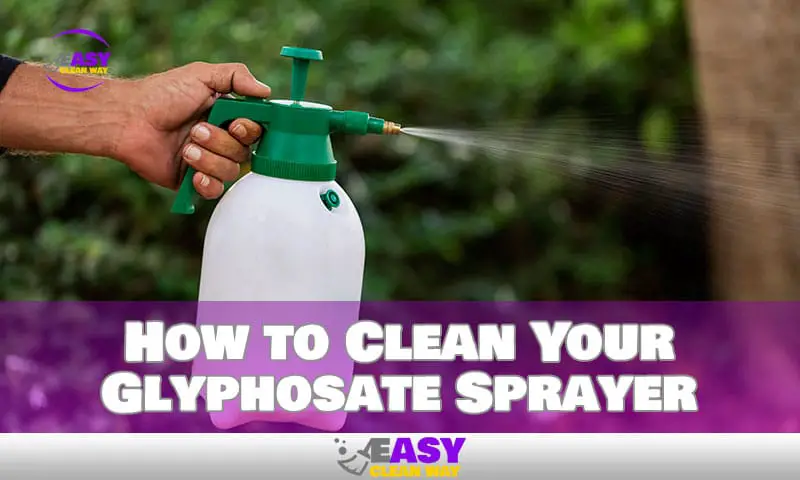
It’s no secret that glyphosate is one of the most widely-used herbicides on the market. But while it’s great at controlling weeds and grasses, it can be a challenge to clean glyphosate from your equipment – especially if you’re working with a complex sprayer. Sure, you could spend hours scrubbing away at your sprayer, but who wants to do that?
Thankfully, there is a simpler approach. I’ll show you how to remove glyphosate from your sprayer with the utmost ease in this article. I’ll go through the reasons why it’s crucial to clean your equipment correctly, the supplies required, and specific instructions on how to carry out each process. So get your cleaning supplies, and let’s get to work!
Preparing the Sprayer for Cleaning
So, you’re ready to get your sprayer cleaned. Before you begin, it’s essential that you prep the sprayer properly. This is especially important if you’ve been using glyphosate—one of the most stubborn herbicides out there.
At first, fill the sprayer reservoir halfway with a cleaning solution of your choice—ammonia is an effective cleaning solution for most herbicides, including glyphosate. For heavier duty cleaning jobs (so in this case: glyphosate), mix the cleaner in a one-to-one ratio with water.
After that, turn off all valves and finish filling the sprayer with clean water. Then, turn on each valve individually to completely empty the tank. Repeat this procedure two or three more times to remove any residue from the tank, even that left by abrasive herbicides like glyphosate.
Rinsing the Inside of the Sprayer With Water
Clean water is the number one necessity when it comes to cleaning glyphosate from a sprayer. Start by removing the solution from the tank and filling it up with clean water. Then, you can use a special cleaning solution—for example, mixing 1/4 cup of ammonia to a gallon of water—to flush out the sprayer.
Rinsing with clean water is essential for getting rid of any particulate matter and herbicide residue that remained in the sprayer after use. It’s important to remember that dilution by repeatedly adding water is the only way to remove remaining herbicide, so be sure to rinse until all traces of herbicide have been eliminated.
Once you’re satisfied you have removed all traces of glyphosate, make sure to remove any residual cleaning solutions and empty out the tank before you set it aside to dry. This will help ensure your sprayer is ready for next time!
Flushing the Glyphosate From the Sprayer With End-Rinse
When it comes to glyphosate, the good news is that it’s one of the easiest chemicals to clean out. Here’s how you do it:
Flush the nozzle system
Start by flushing your nozzle system. To do this, you’ll want to make sure that the pressure on your sprayer is as low as possible. Then, run water through all of your nozzles until they are completely clear.
Rinse surfaces inside tank
It’s time to flush out any residue that might have become lodged inside the tank itself after flushing the nozzle system. Simply wash all interior surfaces of the tank with fresh water until you are certain that no residues are left to accomplish this.
Flush boom and end-rinses
If your boom or end-rinses have glyphosate residue trapped in them, then you need to flush those parts out too. You can use a short pulse of water around each nozzle in turn, and run water into each tube by hand until they are clean and free of residue.
With these three steps, you should be able to remove any traces of glyphosate from your sprayer quickly and easily.
Dispose of Pollutants Properly and Safely
If you’ve got glyphosate in your sprayer, you must take the proper steps to dispose of it safely and properly. Many communities have collection programs for hazardous waste—so check to see if there’s one near you and if it would be a good fit for your pollutants.
For college students, your school may have their own program. Most chemical wastes must be disposed of through the EHS Hazardous Waste Program. Check with your college’s Environmental Health and Safety Department for more information about disposal in your area.
It’s important to note that federal law bans the disposal of hazardous waste in regular trash, so double-check with your local government before disposing of any materials that could be classified as hazardous waste.
It can take extra time and effort to dispose of glyphosate properly, but the payoff is worth it—you’ll be keeping our environment safe and clean!
Properly Store Solutions and Chemicals
When it comes to keeping your sprayer clean, proper storage of solutions and chemicals is just as important as washing them out. Proper storage not only prevents accidents but also lengthens the life of your equipment.
Here’s what you need to know about storing your chemicals properly:
- Chemicals should be stored away from hot surfaces—like radiators or other heat sources—and direct sunlight.
- Chemicals should be placed in chemical-resistant trays, so that any spills are contained and don’t cause problems for other equipment or materials.
- Store shelves should be level, stable, and secured to the wall with a bracket. This will help prevent containers from falling over and causing a hazardous mess.
It might seem like a lot of extra steps just to store your chemicals, but it’s definitely worth it when you think about how much money and time it can save you in the long run. A little bit of effort goes a long way towards keeping your sprayer clean!
In-Depth Sprayer Cleaning
Cleanup after spraying glyphosate for weeds can be a hassle, but it doesn’t have to be—here’s what you need to do for a thorough cleaning of your sprayer.
Flush Pump System
Start by filling the sprayer tank with some soap and water, and then run it through the entire pump system to flush out any remaining glyphosate. This prevents any residue of the chemical from lingering in your machine and contaminating other jobs down the line.
Clean Filters, Nozzles & Screens
Make sure to clean all filters, nozzles and screens with fresh water too—this will help keep them clear so they can work as they should when you need them in the future.
Drain & Rinse Tanks Prior to Storage
It’s crucial to fully drain the sprayer after using it before putting it away for storage. This step may seem straightforward, but you’d be astonished at how frequently people forget to do it. After draining both tanks, remember to thoroughly rinse them with new water to remove any remaining pesticide or weed killer that can contaminate subsequent applications.
So there you have it: with these simple steps, you can keep your sprayer up and running for years—helping you work more efficiently and reducing costs!
People Also Like: How to Clean Car Speakers to Looking New Again
Conclusion
Whether you’re just starting out or a seasoned pro, cleaning glyphosate from your sprayer should be a top priority. Cleaning the glysophate out of your sprayer is important not only for your safety, but also for the efficacy of your sprayer.
You can quickly remove glyphosate from your sprayer and maintain it in peak shape by following the above-described techniques. You’ll be able to prevent glyphosate from leaking into your soil or water system, in addition to extending the lifespan of your sprayer. So remember to regularly clean your sprayer and dispose of your glyphosate!
Hey there! I’m Alton Smith, your Clean Expert blogger. I’m on a quest to help you conquer chaos and embrace the joys of a tidy life.


