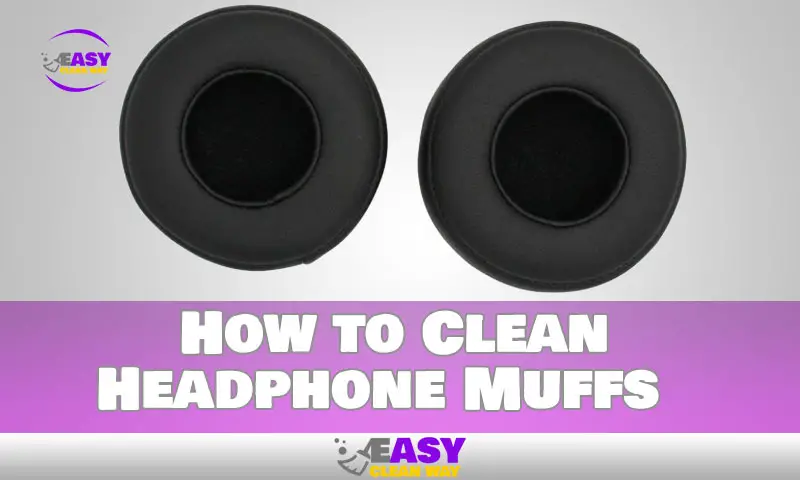
Most of us enjoy listening to music through our headphones, but did you know that our headphones can become dirty and full of bacteria?
It’s true! Headphones can become a breeding ground for bacteria and other germs, leading to unpleasant smells and even skin irritation. To prevent this from happening, it’s important to make sure we keep our headphones clean. But how do we do that?
In this article, we’ll share some simple tips for keeping your headphones clean and free from bacteria. We’ll discuss which materials are best suited for cleaning the headphone muffs, as well as the best techniques to use when cleaning them. We’ll also provide some extra advice on how to take better care of your headphones in the long run.
What You’ll Need to Clean Headphone Muffs
Cleaning your headphone muffs may seem like a daunting task, but it doesn’t have to be! All you need are a few easy-to-find materials. To get started, you’ll need:
- Microfiber cloth: Make sure your microfiber cloth is lint-free and nonabrasive.
- Rubbing alcohol: You can buy rubbing alcohol at most drugstores. Just make sure it’s 70% isopropyl alcohol, as anything higher than that can damage the material of your headphones.
- Cotton swabs: A box of cotton swabs will come in handy for getting into tight spaces on the muffs.
Once you have these three essential tools, you’re good to go!
Gently Wipe Down the Covers
It’s critical to take care of your headphones for both hygienic and durability reasons. Gently wiping off the covers is one of the most important things you can do to keep headphones clean. You can clean the surface of the ear muffs on your headphones by using a moist cloth or cleaning wipes, depending on the material they are made of.
A lot of liquid or harsh cleaning agents may damage your headphones or irritate your skin, so be careful not to use either. Moreover, avoid rubbing or scratching the muffs too vigorously as this can harm the material and put scratches on them.
If you have leather ear muffs, you might want to use a cleaning solution made just for this kind of leather. Carefully adhere to all application directions given by the manufacturer as some products may need unique techniques or may not be appropriate for all types of leathers.
Use a Soft Brush for Dust Removal
If you want your headphone muffs to last longer, you must clean them of dust and lint. Dust and debris can be removed gently with a soft brush, but be careful not to push too hard as this could harm the delicate internal parts. Any soft brush would work for dusting, but if you had an old toothbrush, that would be ideal.
Try using a cotton swab or cotton pad soaked in rubbing alcohol or warm water to remove further filth or stuck-on debris. Use a dry cloth to wipe away any leftover substance after gently rubbing the soft material on the area for around 30 seconds. You can maintain your headphones clean and clear of lint, dirt, and other debris by doing this on a regular basis.
Use a Microfiber Cloth to Remove Stains
Cleaning headphone muff surfaces using a microfiber cloth is an efficient way to remove dirt, stains, and grime. To begin, dampen the cloth with a solution of mild soap and water. Remove any dirt or dust from the muffs’ surface using a soft cloth. Use a dry cloth to lightly scrub the area if you come across any tough stains or dirt that won’t come off with a wet one. Make sure to clean the earmuff on both sides since some dirt and grime could be hidden there. Let the headphones to thoroughly air dry after cleaning them before reusing them.
Disinfect With an Alcohol Solution
An alcohol solution is the best choice for cleaning your headphone muffs thoroughly. Rub away tenacious filth and grime by lightly dampening a cloth with a mix of rubbing alcohol and warm water. Like with other cleaning techniques, take careful not to scrape too vigorously because doing so runs the risk of harming the delicate parts inside the headphone muffs. The ability of rubbing alcohol to eliminate any bacteria that might be hiding in your headphones makes it a perfect disinfectant.
To make sure that all of the moisture is removed, give your microphone muffs one last wipe down with a dry towel once you’re done using them. Then, let them air dry. In order to remove ingrained dirt and grime and to maintain your headphones’ optimum appearance and functionality, this type of cleaning should be performed on a frequent basis..
Use a Soft Paintbrush for Areas That Are Hard to Reach
The majority of headphone muffs have tiny grooves, fissures, and other locations that are challenging to clean with a typical soft cloth or microfiber. A soft paintbrush is the ideal tool for this work in these places. To get rid of filth, lint, and grime from places where a cloth can’t quite reach, dunk the brush in a mild soap and water solution and use gentle strokes. Before using the brush again, make sure to thoroughly wash it in clean water and allow it to air dry.
Avoid Using Abrasive Scrubbing Instruments
No matter how difficult the filth may seem to remove, it’s crucial to avoid using abrasive cleaning equipment like steel wool or scouring pads. These materials are too strong for headphone muffs and risk harming the delicate parts inside. Use a softer material, such as a toothbrush with softer bristles, if you feel the urge to use something a little more abrasive.
Recognize your surroundings
Even when you are not using your headphone muffs, they can still become dirty, thus it is vital to regularly clean and maintain them. Because of this, it’s critical to be conscious of your surroundings and the kinds of objects and debris that could clog your earplugs. Avoid using your headphones in dusty areas to help keep them clean.
People Also Like: How to Clean a Kimber 1911
Conclusion
In conclusion, keeping your headphone muffs clean is an essential part of the headphone-owning process. From regular cleaning and maintenance, to being aware of environmental factors that can contribute to dirt and grime buildup, ensuring your headphones last for years to come is as straightforward and simple as following a few easy steps. Taking a few extra moments to clean your headphone muffs can make all the difference in the long run.
Hey there! I’m Alton Smith, your Clean Expert blogger. I’m on a quest to help you conquer chaos and embrace the joys of a tidy life.


